DIY Shed Solar: Power Lights and Tools for Under $400
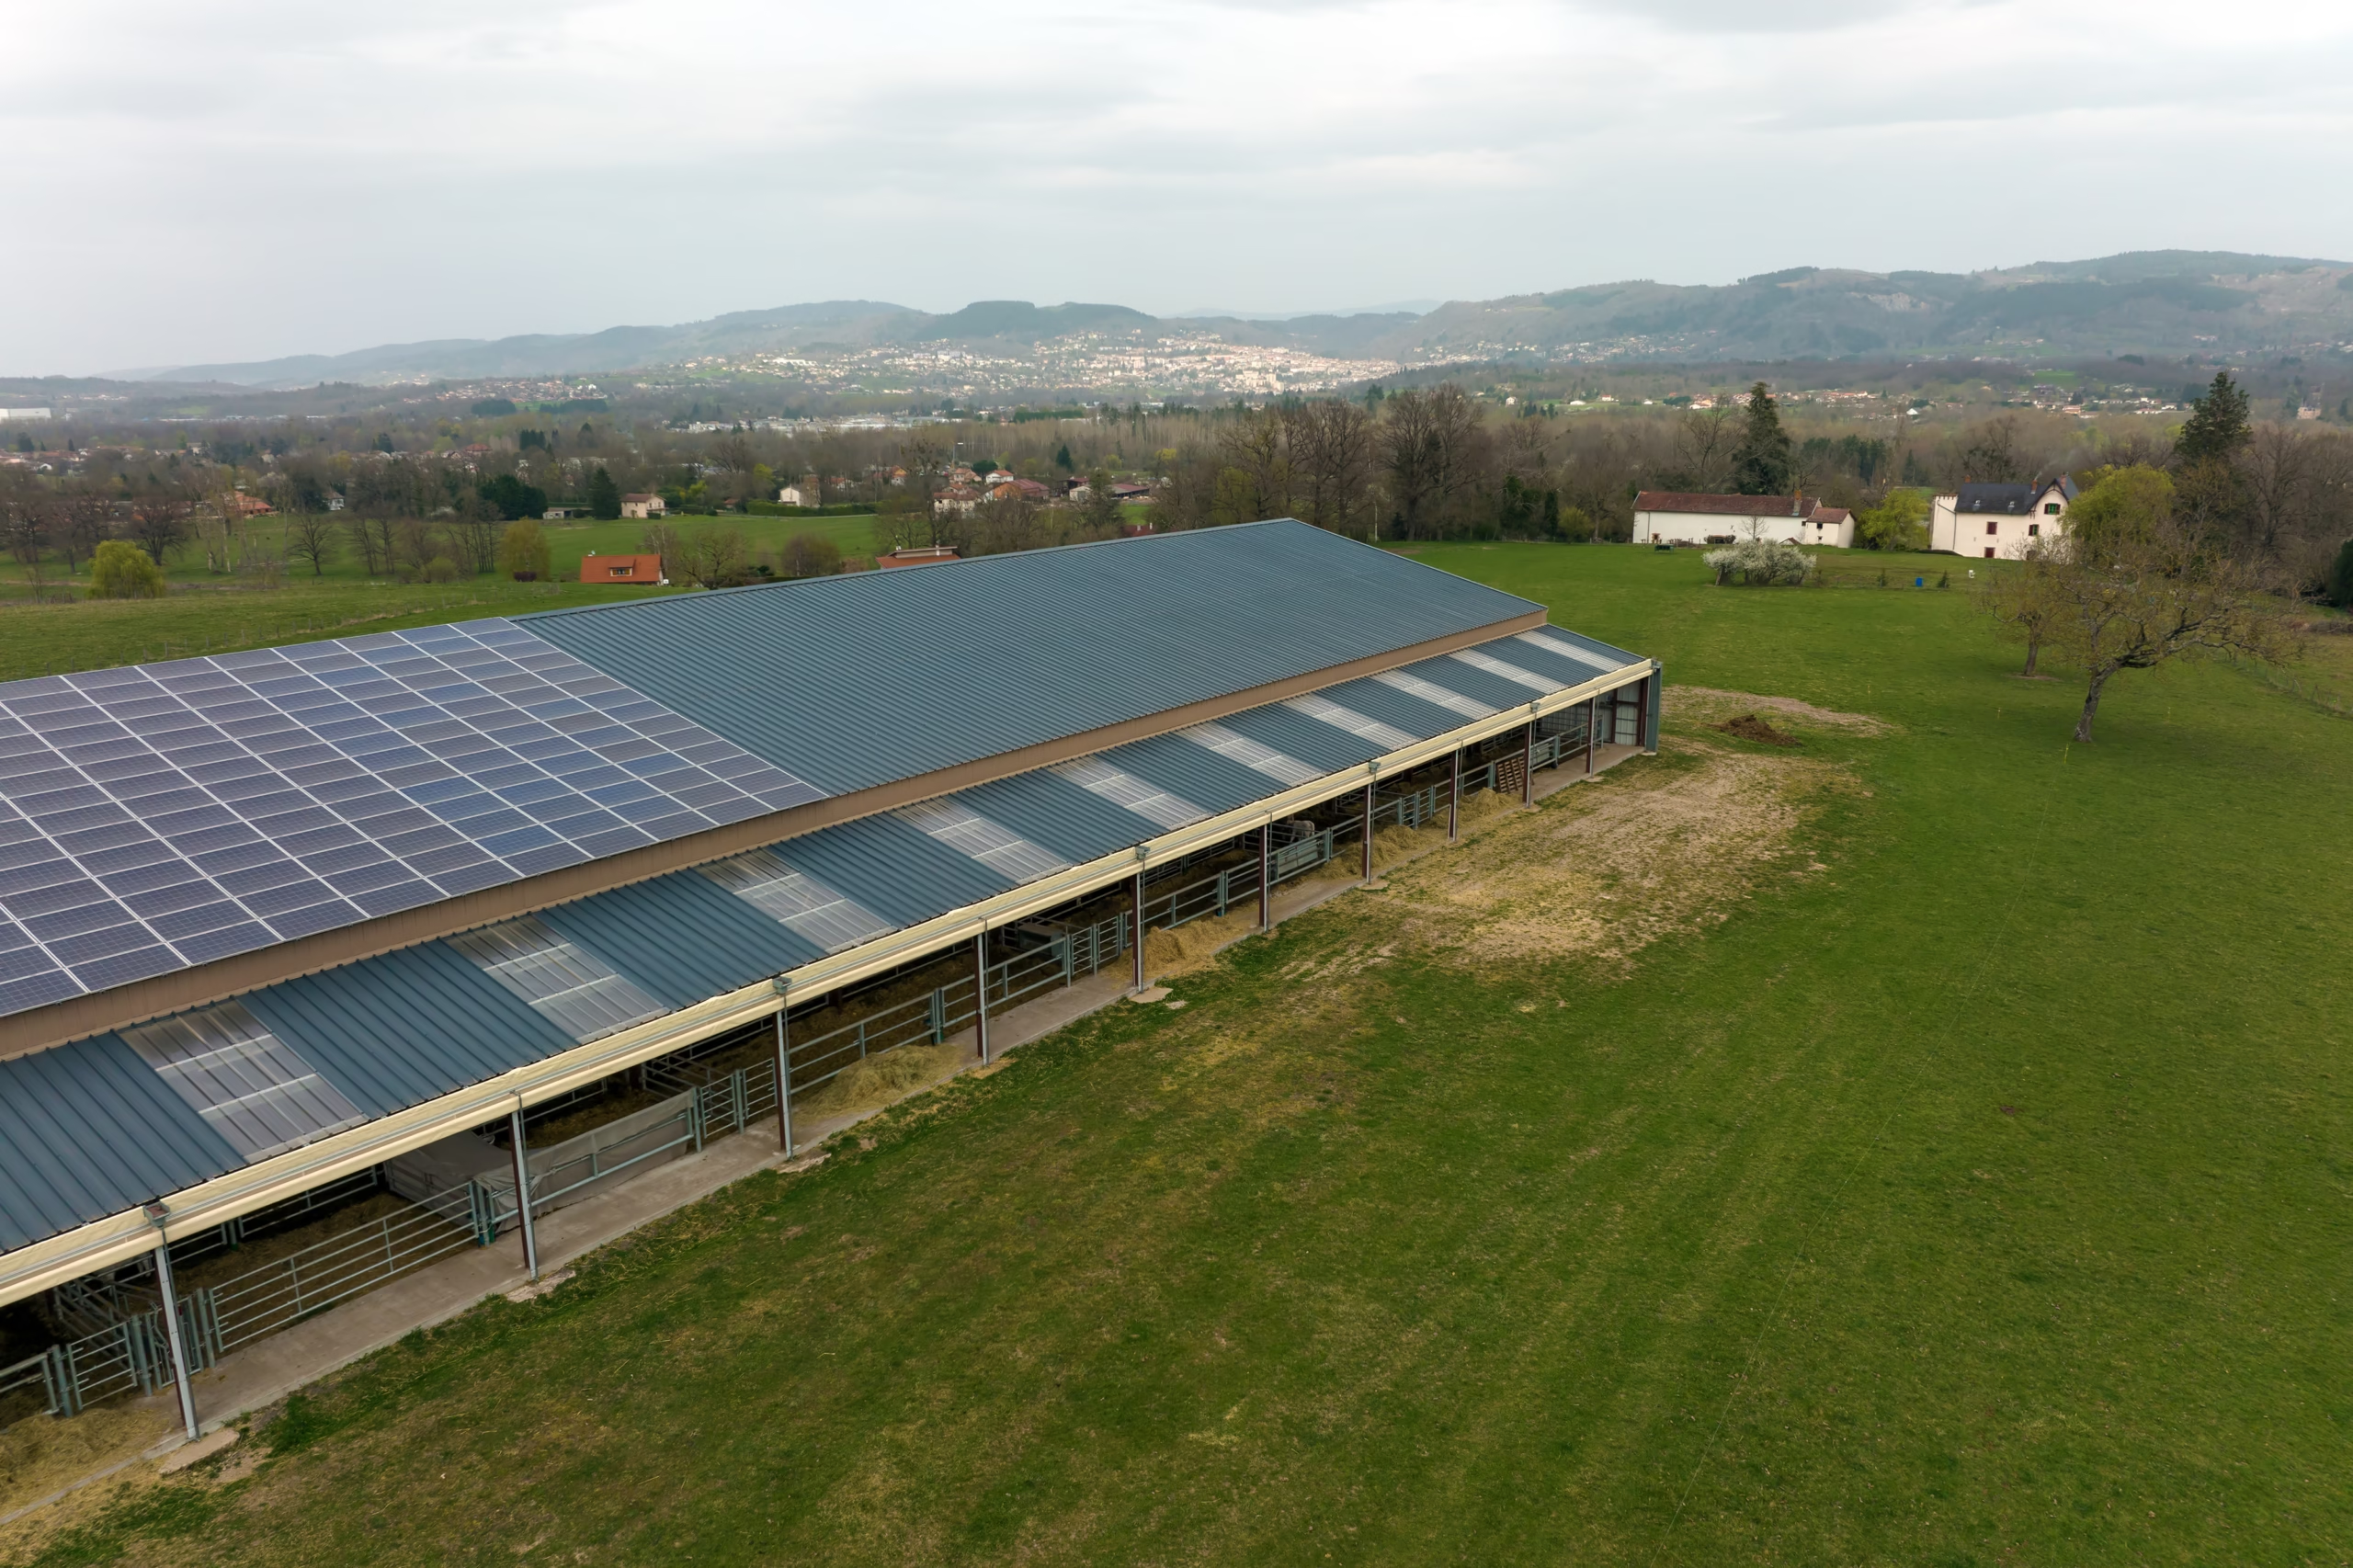
You don’t need a permit or an electrician to get lights and a charging outlet into a detached shed. Here’s a complete parts list, wiring order, and realistic budget that lands under $400.
The Brofessionals is reader-supported. When you buy through links on this page we may earn a small commission at no extra cost to you. As an Amazon Associate we earn from qualifying purchases. See our full disclosure.
Running a trenched electrical line from your house to a detached shed means permits, conduit, and usually an electrician — often $1,500 or more. If all you actually need is a couple of LED lights and an outlet to charge cordless tool batteries or run a small fan, a standalone solar setup gets you there for a fraction of the cost, in an afternoon, with no wiring into your home’s panel at all.
What This Setup Can (and Can’t) Power
Realistic for this budget
- 2–3 LED shop lights or fixtures
- Charging cordless tool batteries
- A small fan, phone/laptop charging, a Bluetooth speaker
- Running a shed door opener or security camera
Not realistic for this budget
- Table saws, air compressors, or other high-draw power tools for extended runs
- Space heaters or window AC units
- Anything you need to run for hours at full 120V power draw
A 100W panel on a sunny day produces roughly 300–400 watt-hours across the day, and the 40Ah battery bank below stores about 480Wh usable. That’s comfortably enough for LED lighting and light electronics, but it’s not a workshop power supply for anything with a real motor in it.
Parts List (Realistic Prices)
| Part | Spec | Realistic Price |
|---|---|---|
| Solar panel | 100W 12V monocrystalline | $84.99 |
| Charge controller | 20A PWM solar charge controller | $17.99 |
| Battery | 12V 40Ah LiFePO4 deep-cycle | $109.99 |
| Inverter | 300W pure sine wave, 12V DC to 120V AC | $39.99 |
| Battery box | Vented case with carry strap | $17.99 |
| Wiring | 10 AWG solar cable + MC4 connector pair | $16.99 |
| Fusing | Inline fuse holder + fuse | $9.99 |
| Lighting | 2x LED shop light fixtures | $21.99 |
| Mounting | Tilt brackets + lag bolts | $19.99 |
| Misc | Ring terminals, zip ties, silicone sealant | $12.99 |
| Total | ~$352.89 |
That leaves roughly $47 of headroom under the $400 budget for tax, shipping, or a basic crimping tool if you don’t already own one.
Tools You’ll Need
A drill/driver, a wire crimper (or a cheap crimp-and-strip combo tool), a screwdriver, and a stud finder if you’re mounting the panel on a wall instead of the roof. No specialty electrical tools required.
Step 1: Plan Your Load Before You Buy Anything
Add up what you actually want to run and for how long. Two 10W LED fixtures running 3 hours a night is 60 watt-hours a day. Charging a couple of cordless tool batteries is another 100–150Wh. A small fan running a few hours might add 150–200Wh more. Add it up and compare it to what your panel and battery can realistically deliver — this is the step people skip, and it’s why systems end up feeling “too small” later. The parts list above is sized for light lighting and charging, not continuous heavy use.
Step 2: Mount the Panel
South-facing is ideal in the Northern Hemisphere; a roof or south wall with minimal shade from trees or the house works. Use the tilt brackets so the panel angles toward the sun rather than lying flat — even a rough tilt matched to your latitude meaningfully improves winter output. Run the panel’s leads through a small weatherproof entry point (a cable gland or conduit fitting) rather than just propping a window open.
Step 3: Wire the Charge Controller and Battery
Connect the panel to the charge controller first, then the controller to the battery — connecting the battery first (before the panel) is the safer order and is what most controller manuals specify. Install the inline fuse between the battery and the controller, sized to the controller’s output rating. This is the single most important safety step in the whole build: it protects the battery and wiring if something shorts.
Step 4: Add the Inverter and Lights
Wire the inverter directly to the battery terminals (with its own fuse, if it didn’t come with one built in). Plug your LED shop lights into the inverter’s outlets, or wire them directly to the 12V side if you bought 12V-native fixtures instead of standard 120V shop lights — either works, and 12V fixtures are slightly more efficient if you’re starting from scratch.
Step 5: Test and Monitor
Most PWM charge controllers have a small display or LED indicator showing charge state — check it for the first week to see how your actual usage compares to what the panel is putting back in each day. If you’re consistently draining faster than the panel refills, that’s your sign to either add a second panel or dial back what you’re running.
Why this is a good starter project
- No trenching, permit, or electrician for a system this size
- Fully portable — the whole thing can move with you
- Expandable — add a second panel or bigger battery later
- Teaches the exact same wiring logic as a full solar generator build
Where it falls short
- Won’t run real power tools for extended periods
- Battery capacity is fixed unless you upgrade it
- Output drops significantly on cloudy, short winter days
If this project has you interested in a bigger, more capable DIY build — sized to actually run power tools, not just lights — our full guide to building a solar generator at home walks through a larger-capacity version of the same basic components.
Check Renogy 100W Solar Panel on Amazon → Check 12V 40Ah LiFePO4 Battery on Amazon →
Check 300W Pure Sine Wave Inverter on Amazon → Check 20A PWM Charge Controller on Amazon →
FAQ
Read next: How to Build a Solar Generator at Home (DIY) · Balcony Solar in the US (2026): What’s Legal, What Works, What to Buy · More Solar Guides