How to Build a DIY Firewood Rack: Parts List and Steps
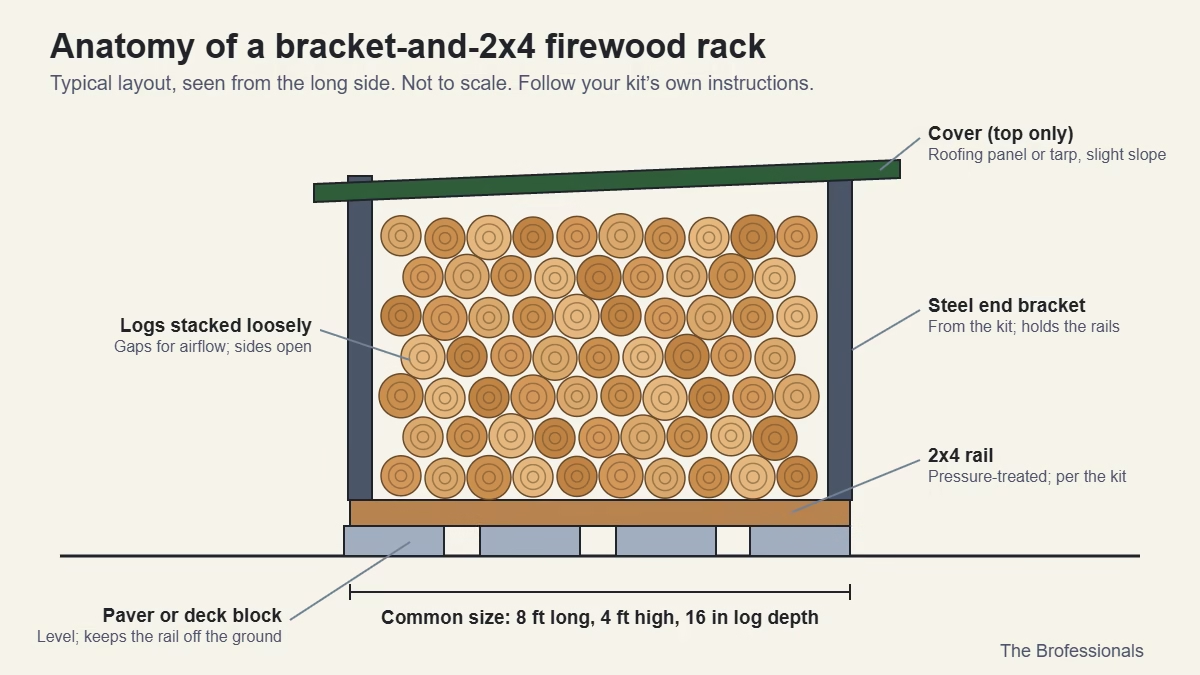
A sturdy rack keeps firewood off wet ground, lets air move through the stack and holds a full face cord. Here is the parts list, sizing math and build order for a simple bracket-and-2×4 rack.
The Brofessionals is reader-supported. When you buy through links on this page we may earn a small commission at no extra cost to you. As an Amazon Associate we earn from qualifying purchases. See our full disclosure.
A good firewood rack does three jobs: it keeps the bottom row off wet ground, it lets air move through the stack so the wood keeps drying, and it keeps the pile from toppling. A bracket-and-2×4 rack covers all three with basic tools, and you can size it to your space.
How much wood does the rack need to hold?
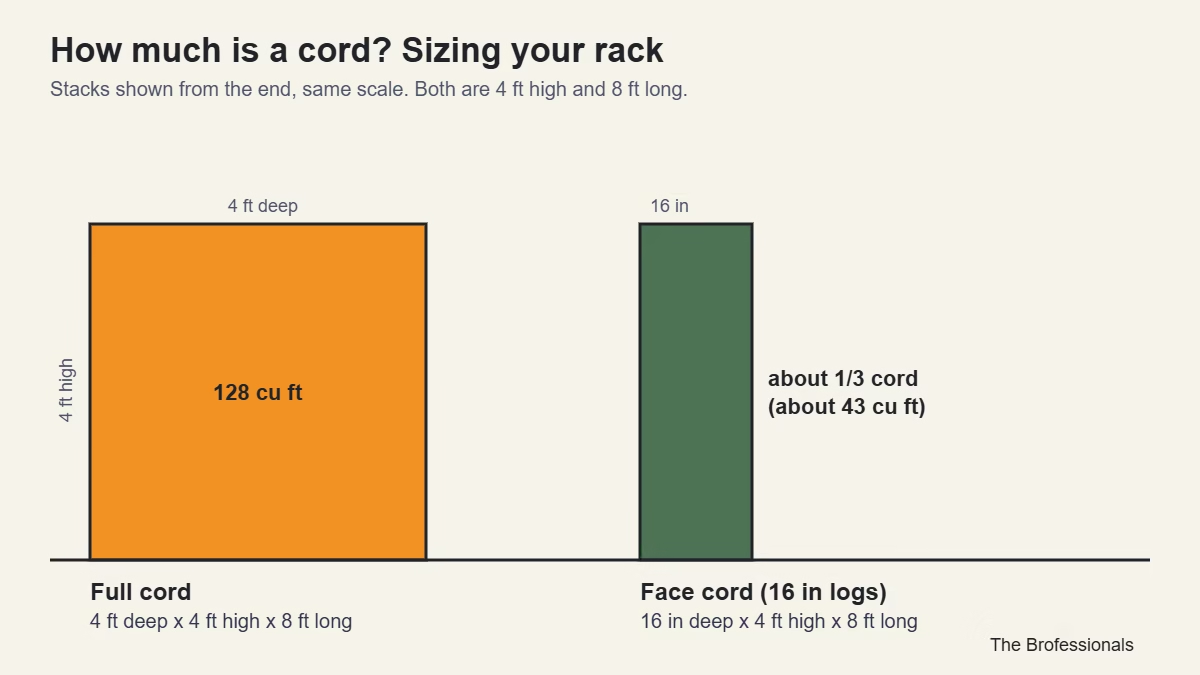
A full cord is a stack 4 ft high, 4 ft deep and 8 ft long (128 cubic feet). Most sellers deliver a “face cord” instead: a stack 4 ft high and 8 ft long that is only as deep as one log, often 16 inches, so it is about a third of a cord. An 8 ft rack that is 4 ft tall is the usual size for one face cord. A full face cord of dense hardwood can weigh well over 1,000 lb, so build the base and uprights for real load.
Parts list
| Part | Spec | What to check |
|---|---|---|
| Steel rack brackets (kit) | Adjustable-length kit sized for 2×4 rails | Rated load per pair; whether the kit includes hardware |
| Rails | Pressure-treated 2x4s, 8 ft | Rated for ground contact if they will sit low; count per the kit instructions |
| Base | Concrete pavers or deck blocks, or a compacted gravel pad | Level on all four corners |
| Fasteners | Exterior-rated screws, about 3 in | Coated for outdoor use |
| Cover | Corrugated roofing panel or a tarp | Covers the top only so the sides stay open for airflow |
| Moisture meter | Pin-type wood moisture meter | Firewood is commonly burned at about 20% moisture or less |
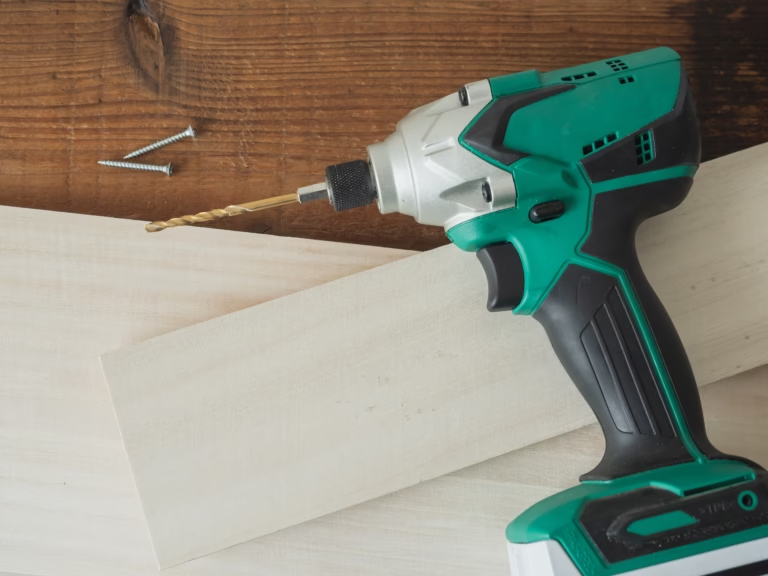
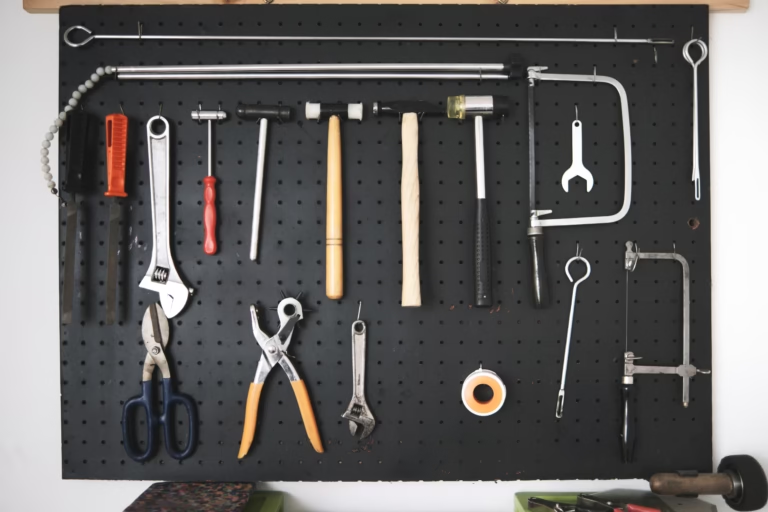
| Tools | Drill/driver, level, tape measure, saw, gloves, safety glasses | You likely own most of these |
Steps
- Level the base. Set pavers or deck blocks where the brackets will stand and check with a level. A rack that rocks will loosen over time.
- Assemble the end brackets. Follow the kit’s own instructions and set the spacing for the rack length you chose.
- Fit the 2×4 rails. Cut the rails to length and secure them with exterior screws.
- Add the cover. Fasten a roofing panel or secure a tarp over the top only, with a slight slope so water runs off.
- Stack it loosely. Put the largest splits on the bottom, leave small gaps for airflow and keep the stack inside the uprights.
- Test the wood. Split a piece, push the meter pins into the fresh face and check the reading before you burn it.
Mistakes to avoid
- Stacking directly on the ground, which wicks moisture into the bottom row.
- Wrapping the whole stack in plastic, which traps moisture and slows drying.
- Building the rack taller than it is deep without bracing it.
- Burning wood that has not dried. Seasoning time varies by species, so rely on a meter, not the calendar.
What else you will want
- A small kindling box for the porch or hearth.
- Fatwood or fire starters to keep with the rack.
- A chimney brush if you burn in a stove or fireplace. See your appliance manual for sweep intervals.
Heating with wood also means keeping the rest of the home ready. See our interlock kit vs transfer switch guide for outage planning.
Sources
- Family Handyman, DIY firewood storage ideas: rack styles and materials
Checked October 2026. Confirm specs and local rules before you buy or build.