7 Beginner Raised Bed Mistakes to Avoid
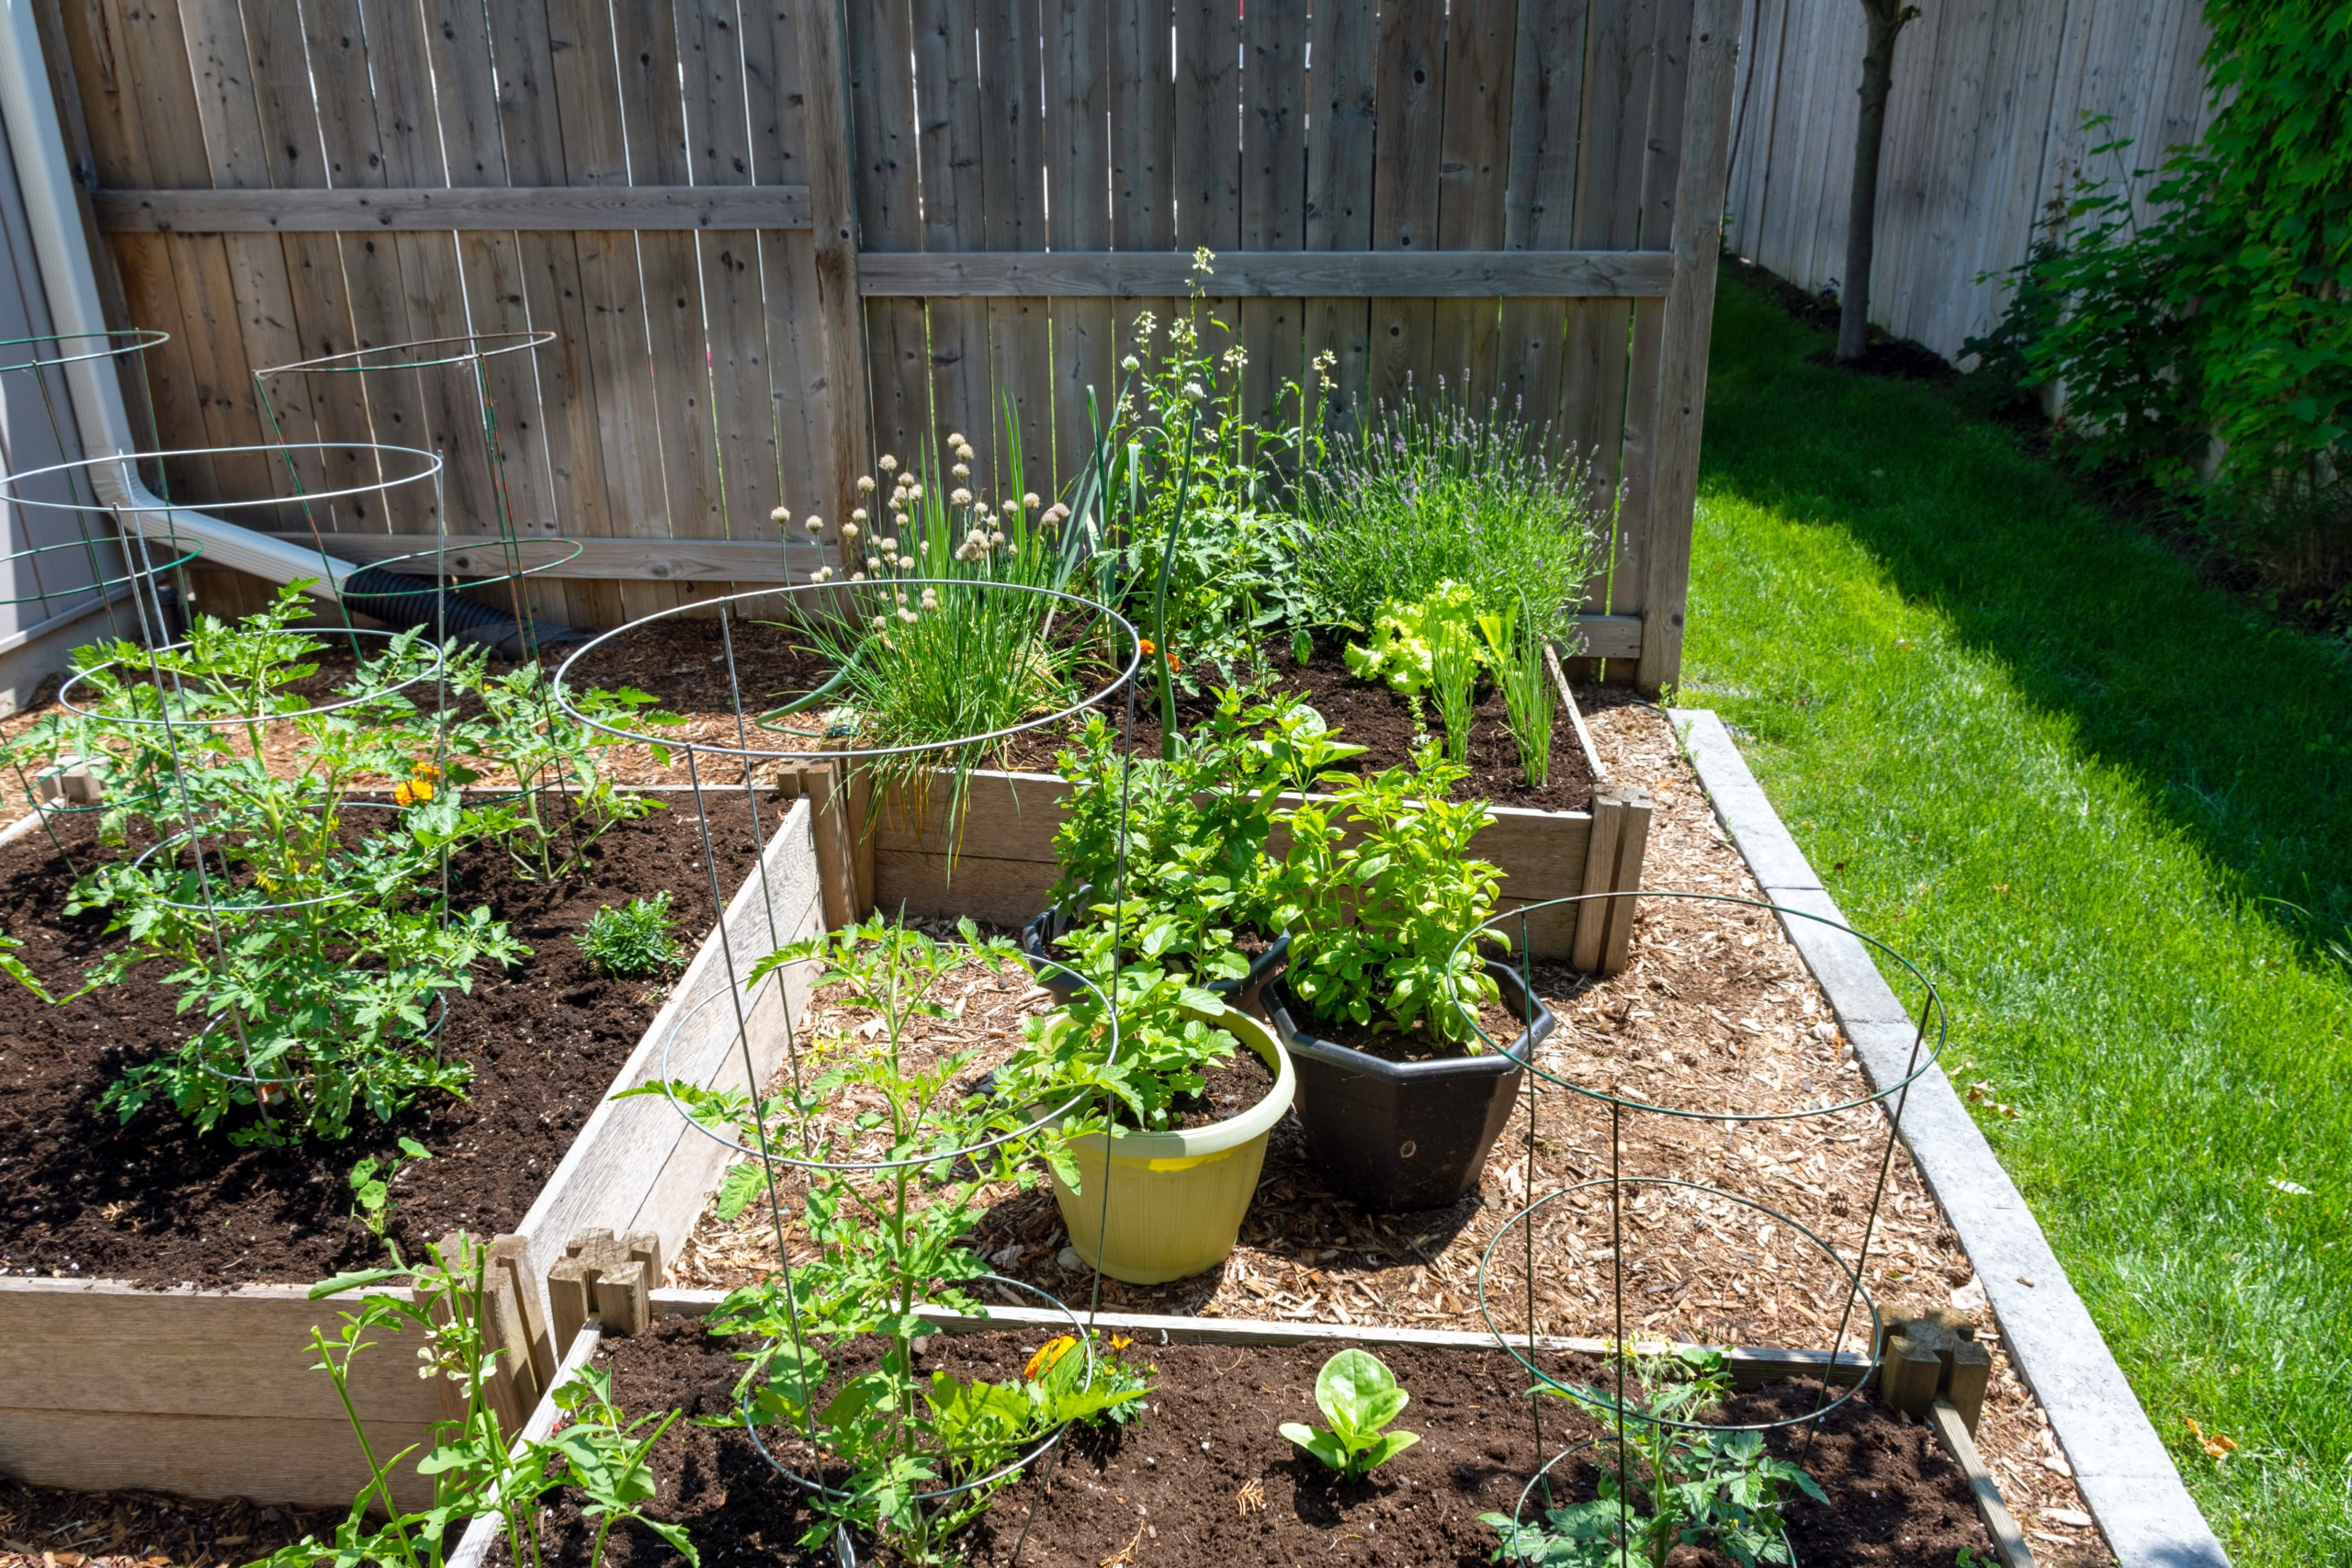
Most first-year raised bed problems trace back to one of a handful of setup mistakes — not bad luck. Here are the seven most common ones we see beginners make, and the fix for each.
The Brofessionals is reader-supported. When you buy through links on this page we may earn a small commission at no extra cost to you. As an Amazon Associate we earn from qualifying purchases. See our full disclosure.
Raised beds are more forgiving than in-ground gardens, but they’re not mistake-proof. Because the growing medium is contained and separate from native soil, small errors in setup — wrong soil, wrong site, wrong watering plan — compound fast. Here’s what trips up most first-time raised bed gardeners, in order of how often we see them.
| # | Mistake | Quick Fix |
|---|---|---|
| 1 | Filling with plain topsoil or garden soil | Use a blended mix: topsoil + compost + aeration material |
| 2 | Building the bed too wide to reach the middle | Cap width at 4 feet if accessible from both sides |
| 3 | Placing the bed in partial shade | Confirm 6–8 hours of direct sun before you build |
| 4 | Using the wrong wood or treated lumber | Untreated cedar, redwood, or a food-safe liner only |
| 5 | No watering plan beyond a hose | Add drip irrigation or a soaker hose from day one |
| 6 | Spacing plants like an in-ground garden | Use intensive/square-foot spacing instead |
| 7 | Never topping off settled soil | Add 1–3″ of compost each spring |
1. Filling the Bed With Plain Topsoil or Garden Soil
Straight topsoil or “garden soil” is formulated to be tilled into existing ground, not to sit in a contained box. In a raised bed it compacts hard, drains poorly, and starves roots of oxygen within a season. Fix: blend topsoil with compost and an aeration material like perlite or vermiculite — a 40/40/20 split is a reliable starting ratio for most vegetables.
2. Building the Bed Too Wide to Reach the Middle
A gorgeous 6-foot-wide bed sounds efficient until you’re stepping into it to weed the center, compacting the exact soil structure you built the bed to avoid. Fix: keep any bed accessible from only one side to 2–3 feet wide, and beds accessible from both sides to 4 feet wide, max.
3. Placing the Bed Somewhere That Gets Partial Shade
Most vegetables (tomatoes, peppers, squash, most fruiting crops) need 6–8 hours of direct sun a day. A spot that looks sunny in spring can fall into shadow by midsummer once nearby trees leaf out fully. Fix: watch your chosen site across a full day, ideally across a couple weeks, before committing to a permanent bed location.
4. Using the Wrong Wood (or Treated Lumber)
Pressure-treated lumber manufactured before 2004 contained arsenic compounds, and while modern treated lumber uses different chemicals, many gardeners still prefer to keep any treated wood away from food crops. Certain woods like black walnut are actively toxic to many vegetables. Fix: build with untreated cedar or redwood, or line the interior of any treated-wood bed with a food-safe plastic barrier.
5. Skipping a Real Watering Plan
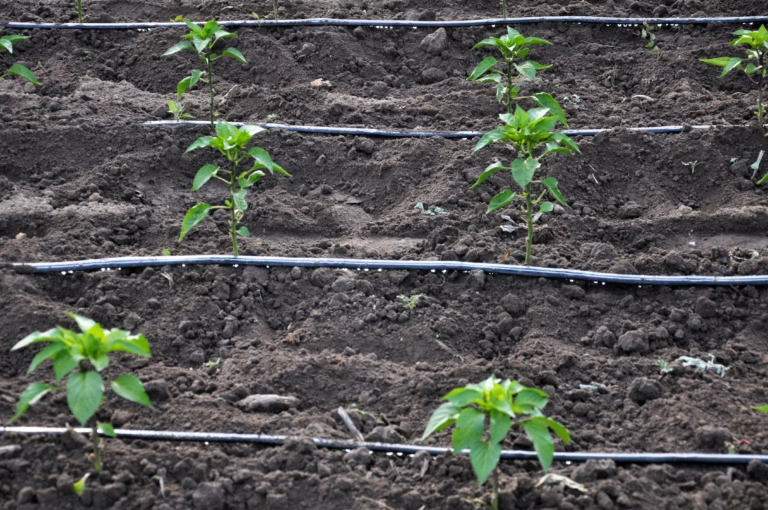
Raised beds drain faster and dry out faster than in-ground gardens, especially in summer heat — a hand-watering routine that worked in a ground bed often isn’t enough. Fix: install drip irrigation or a soaker hose at planting time rather than waiting until plants show stress; it also saves significant time over a full season.
Check Raised Bed Drip Irrigation Kits on Amazon →
6. Spacing Plants Like an In-Ground Row Garden
Seed packet spacing is usually written for traditional row gardens with walking paths between rows. Applied directly to a raised bed, it wastes most of the growing space. Fix: use intensive or square-foot-gardening spacing instead, which typically fits more plants per square foot since you’re not leaving room for foot traffic between rows.
7. Never Topping Off Settled Soil
Raised bed soil settles 10–15% in year one and continues settling slowly as organic matter breaks down every season after. A bed that started at a full 12 inches can end up several inches short within a year or two, shrinking your usable root zone. Fix: add 1–3 inches of fresh compost each spring before planting, rather than waiting until the bed looks visibly low.
Check Organic Compost for Garden Beds on Amazon →
Signs You’re On Track
- Soil feels loose and crumbly, not compacted, when you push a finger in
- Bed gets a full 6+ hours of direct sun through midsummer
- You can reach every part of the bed without stepping into it
Warning Signs to Fix Now
- Water pools on the surface instead of soaking in within a minute or two
- Plants near the bed’s edges are stunted compared to the center
- Soil level has dropped noticeably below the top of the frame
FAQ
Read next: Raised Garden Bed Soil Calculator + Soil Mix · How to Fill a Raised Bed for Almost Free · Raised Garden Bed Plans + Free Cut List · Best Pre-Made Raised Garden Bed Kits 2026