How to Fill a Raised Bed for Almost Free
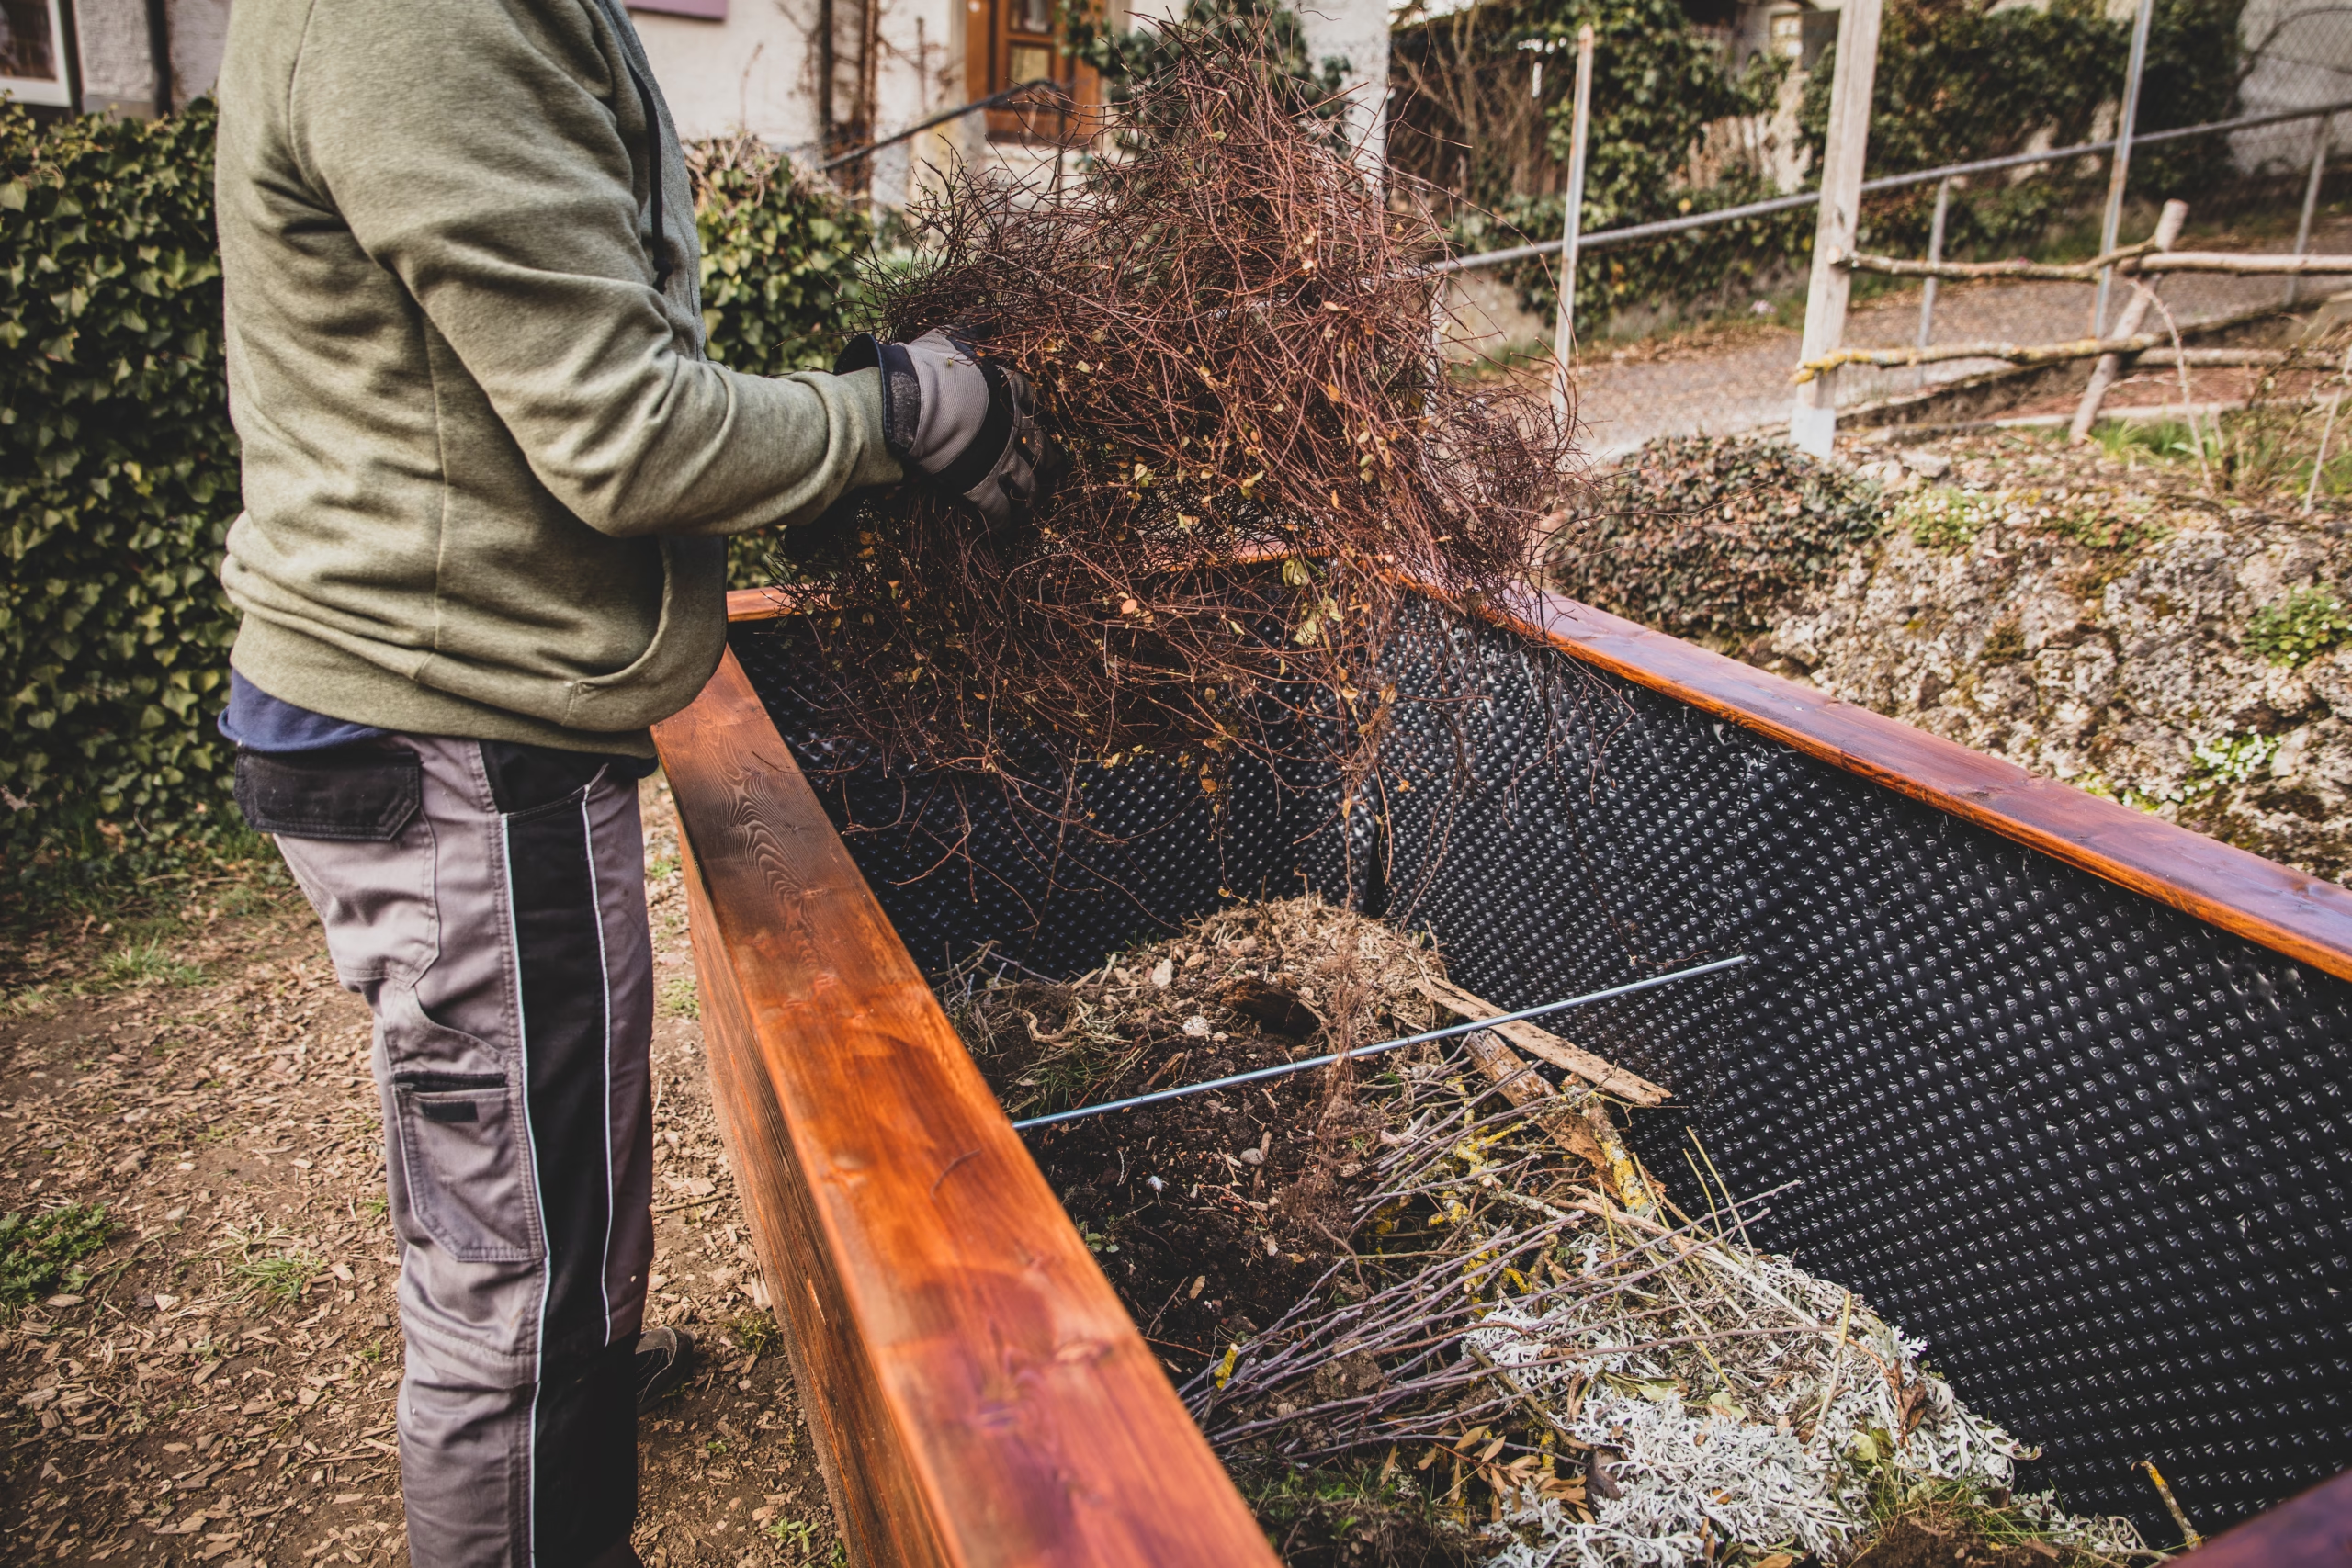
A 4×8 raised bed can cost $200–$280 to fill with bagged soil alone. The hugelkultur layering method fills most of that volume with logs, brush, and yard waste you can get for free — and it builds better soil than a bag ever will.
The Brofessionals is reader-supported. When you buy through links on this page we may earn a small commission at no extra cost to you. As an Amazon Associate we earn from qualifying purchases. See our full disclosure.
Filling a raised bed is one of those costs new gardeners never budget for. A standard 4×8-foot bed at 12 inches deep holds about 32 cubic feet (roughly 1.2 cubic yards) of growing medium. Buy that entirely in 1.5-cubic-foot bags of garden soil at $8–$12 each, and you’re looking at over 20 bags — call it $200–$280 before you’ve planted a single seed.
Hugelkultur (HOO-gul-kul-tur), a centuries-old German mound-gardening technique, solves this by filling the bottom two-thirds of the bed with logs, branches, and organic debris instead of purchased soil. As that material breaks down over several seasons, it holds moisture like a sponge, feeds soil fungi, and slowly releases nutrients — while cutting the amount of soil and compost you need to buy by half or more.
The Layer-by-Layer Breakdown
Think of a hugelkultur raised bed as a lasagna, built from the ground up in five rough layers. Exact depths flex depending on how deep your bed is, but the order matters more than the precision.
| Layer | What Goes In It | Approx. Depth | Purpose |
|---|---|---|---|
| 1. Base | Rotting logs, thick branches, stumps (untreated hardwood) | 4–8″ | Bulk filler; acts as a sponge that stores water and slowly feeds soil fungi for years |
| 2. Woody debris | Smaller branches, twigs, wood chips | 2–4″ | Fills gaps between logs; breaks down faster than the base layer |
| 3. Green & brown matter | Grass clippings, dry leaves, straw, cardboard, shredded paper | 3–6″ | Supplies nitrogen and carbon; the workhorse decomposition layer |
| 4. Kitchen scraps / rough compost | Unfinished compost, vegetable scraps, coffee grounds | 2–4″ | Adds nutrients and active microbial and worm life |
| 5. Topsoil & compost cap | Purchased raised-bed soil mix blended with finished compost | 6–8″ | The actual root zone — this is the only layer you plant directly into |
Why This Actually Saves Money
The math works because wood and yard debris are the cheapest, heaviest part of any soil volume — and they’re often free. A tree service chipping a downed limb, a neighbor’s brush pile, or your own fall leaf haul can fill the bottom 60–70% of a bed’s volume at little to no cost. That leaves only the top 6–8 inches — the layer plant roots actually live in — needing purchased soil and compost, which can cut your total soil bill by roughly half compared to filling the whole bed with bagged mix.
Pros
- Bottom layers are often free from tree services, arborists, or yard waste
- Improves water retention significantly once established, reducing watering frequency
- Feeds beneficial fungi and soil microbes as wood slowly decomposes over years
- Cuts the amount of purchased soil/compost needed by roughly half
Cons
- Bed volume settles noticeably in year one — plan to top off with compost
- Some woods (black walnut, treated lumber) should never go in a food-growing bed
- Takes a season to fully “activate” before nutrient release peaks
- Not ideal for beds shallower than about 10 inches — not enough room to layer
Check Raised Bed Garden Soil on Amazon → Check Organic Compost for Garden Beds on Amazon →
What Wood to Use (and What to Avoid)
Hardwoods that hold moisture and decompose at a moderate pace work best: oak, maple, birch, alder, and old fruit tree prunings are all solid choices, especially if they’re already partially rotted. Avoid black walnut (its roots and wood contain juglone, which is toxic to tomatoes, peppers, and many other vegetables), any pressure-treated or painted lumber, and diseased wood. Cedar and redwood are fine in small amounts but resist decomposition for so long they act more like permanent fill than active layering material.
Step-by-Step: Filling Your Bed
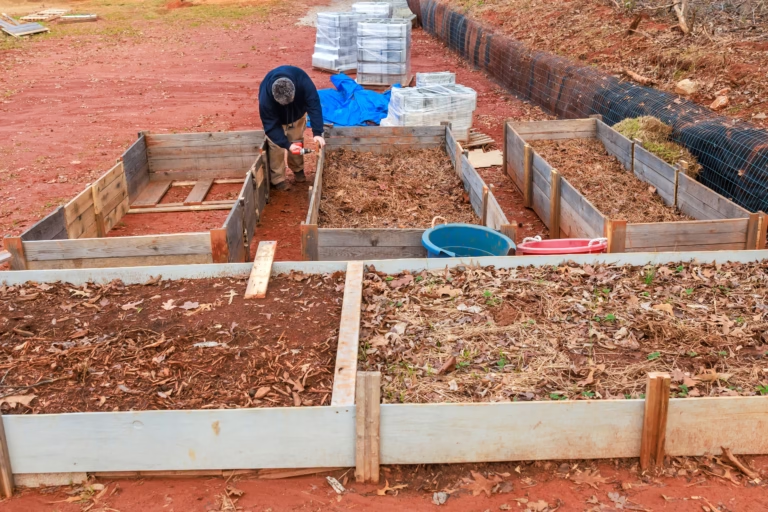
1. Source your wood first. Check local tree services, arborist chip-drop programs, or municipal yard-waste sites — most will deliver logs and chips free just to avoid a landfill trip.
2. Lay the largest logs flat on the bottom, packing them as tightly as you can to minimize air gaps and future settling.
3. Fill gaps with smaller branches and wood chips until the base layer reaches roughly a third of your bed’s total depth.
4. Add a green-and-brown layer of grass clippings, dry leaves, and cardboard, watering it down as you go to kickstart decomposition.
5. Layer in unfinished compost or kitchen scraps for a nutrient boost, then water again.
6. Cap with 6–8 inches of purchased raised-bed soil mixed with finished compost and plant directly into that top layer.
Free and Cheap Material Sources
| Source | What You’ll Find | Typical Cost |
|---|---|---|
| Local tree service / arborist | Fresh logs, branches, wood chips | Free — many will deliver a truckload to avoid dump fees |
| ChipDrop or similar apps | Bulk wood chips delivered to your driveway | Free to low-cost |
| Municipal yard-waste site | Leaves, brush, sometimes finished compost | Free or a small per-load fee |
| Neighbors / community boards | Grass clippings, fallen branches, cardboard | Free |
| Garden center | Bagged topsoil and compost for the cap layer only | $8–$12 per 1.5 cu ft bag |
FAQ
Read next: Raised Garden Bed Plans + Free Cut List · Raised Garden Bed Soil Calculator + Soil Mix · 7 Beginner Raised Bed Mistakes to Avoid · Best Pre-Made Raised Garden Bed Kits (2026)