Best Drip Irrigation Kits for Raised Beds (2026 Buying Guide)
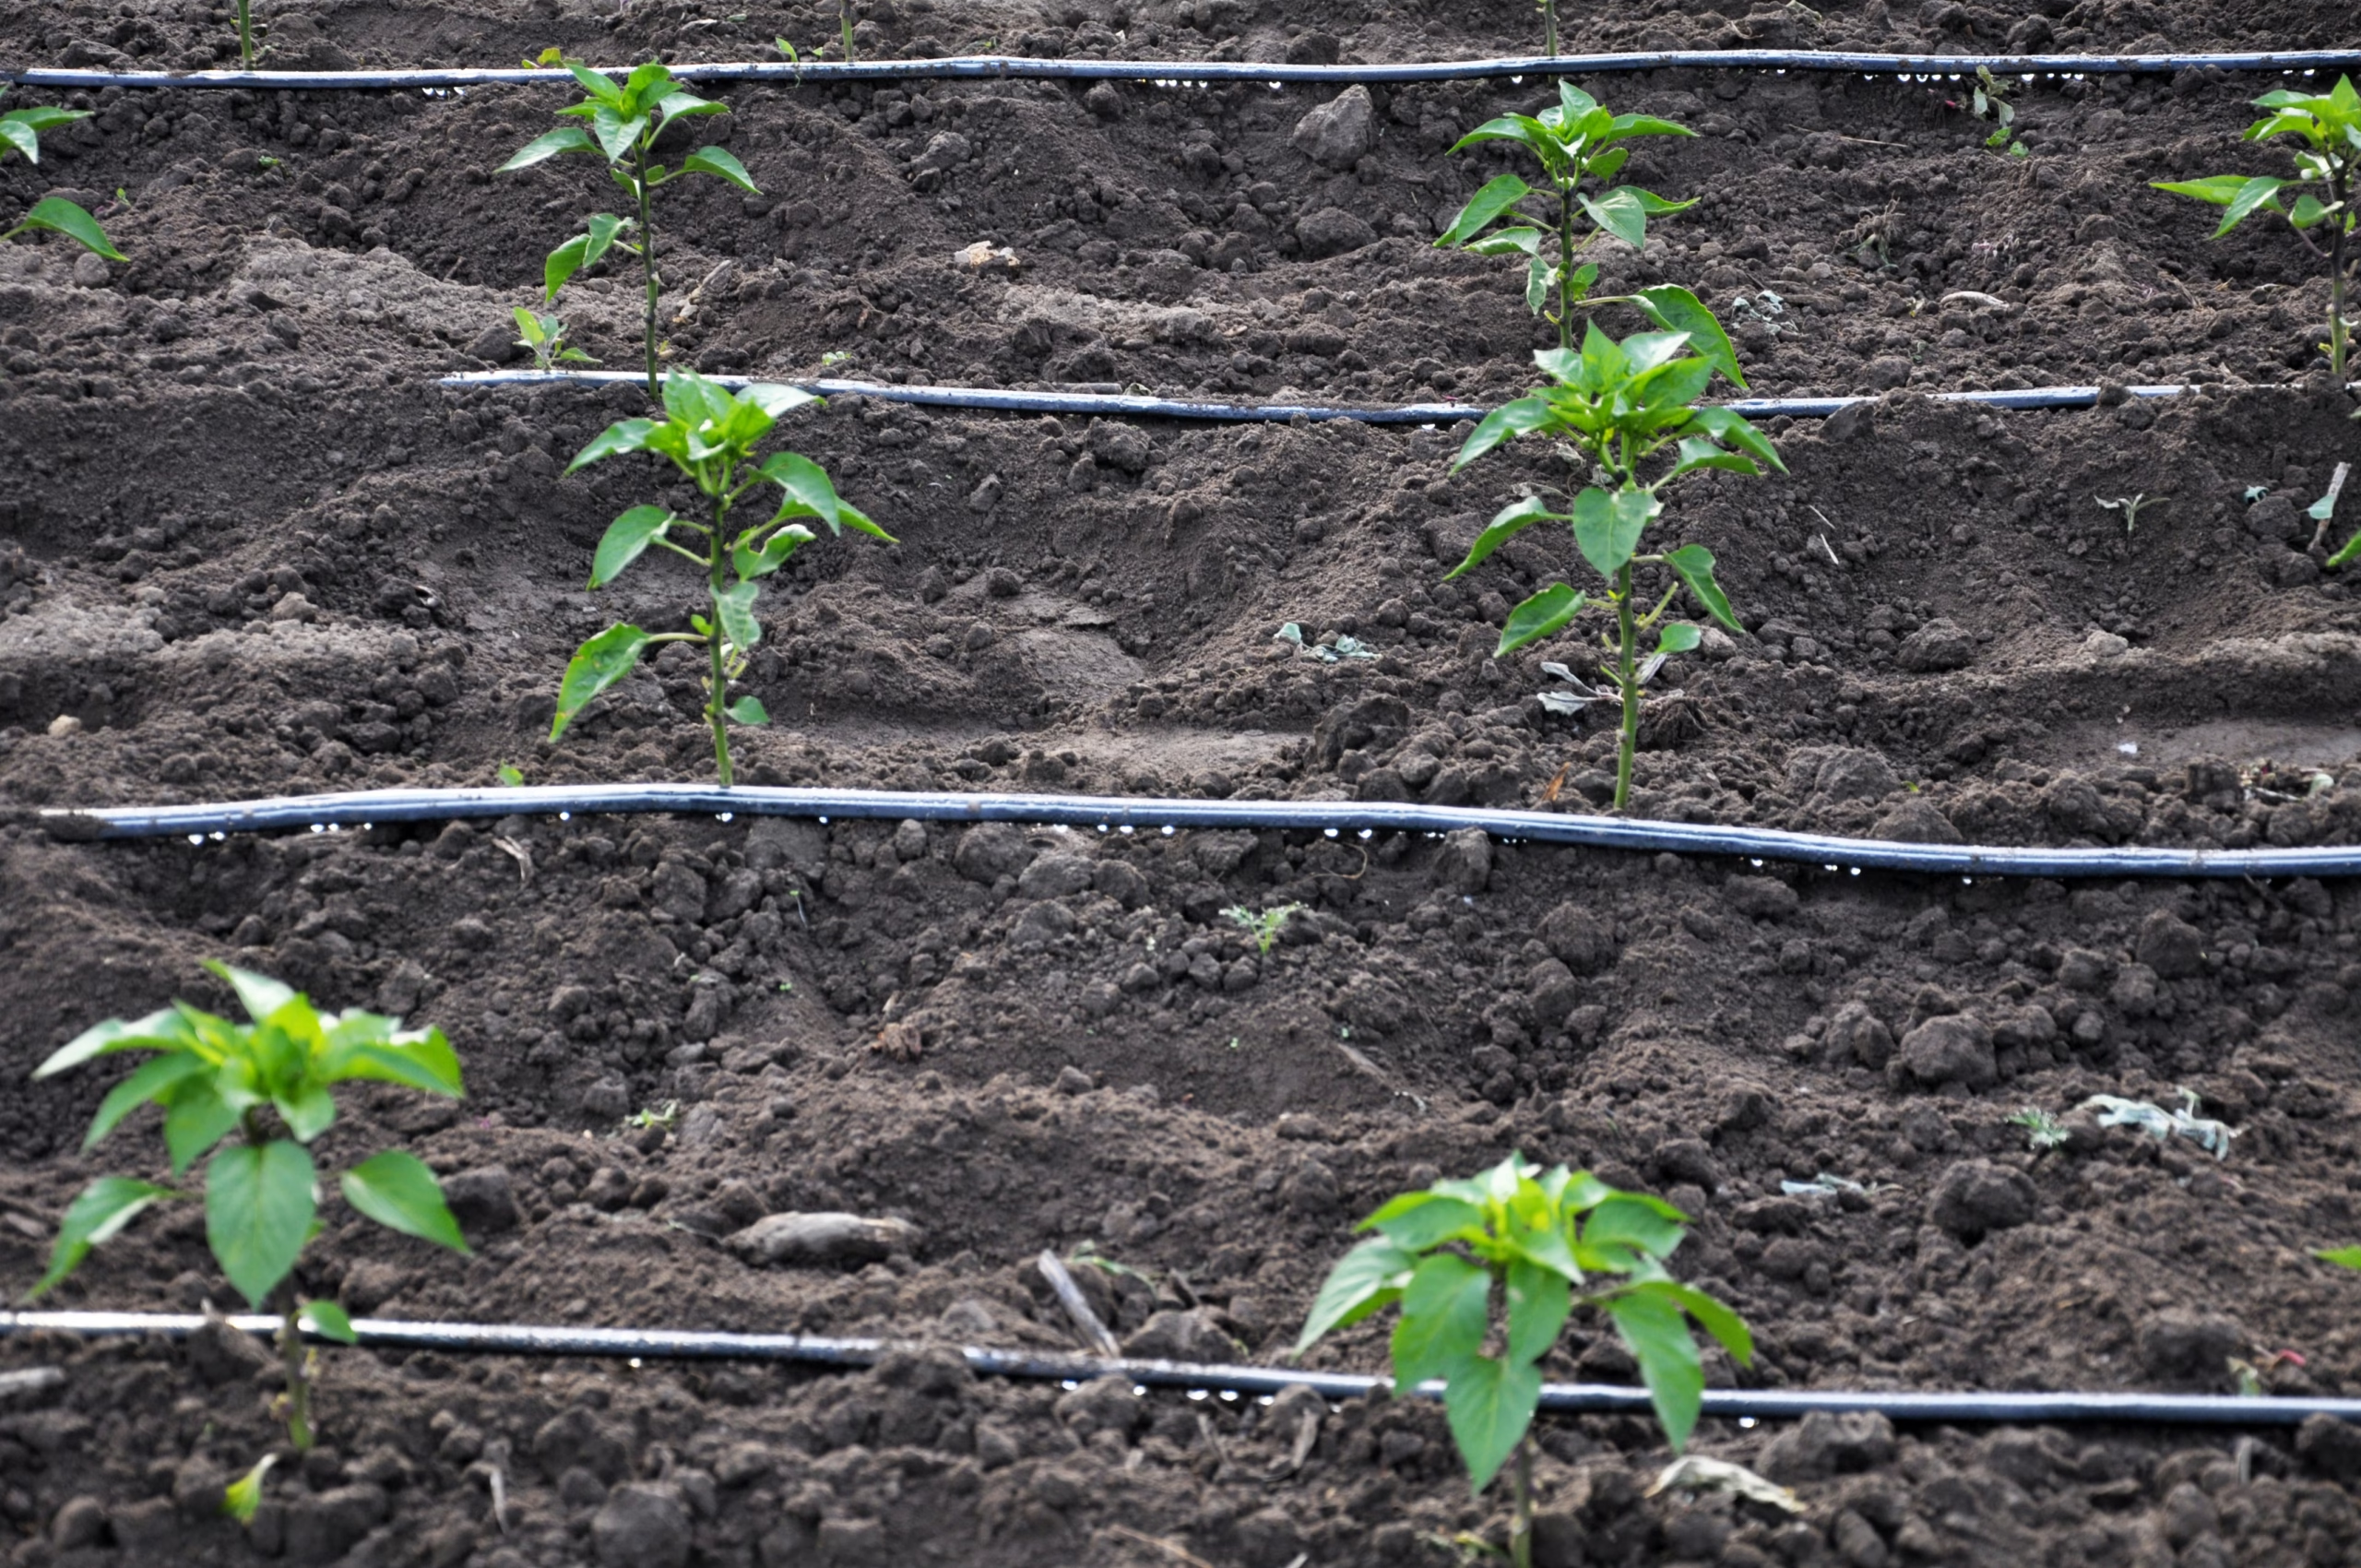
Hand-watering raised beds gets old fast, and overhead sprinklers waste water and invite leaf disease. These are the drip irrigation kits actually sized for raised beds — pressure-compensating emitters, hose-end fittings, and a setup you can finish in one weekend.
The Brofessionals is reader-supported. When you buy through links on this page we may earn a small commission at no extra cost to you. As an Amazon Associate we earn from qualifying purchases. See our full disclosure.
Raised beds dry out faster than in-ground rows because the soil is elevated and drains well on all sides — which is great for root health but means inconsistent hand-watering leaves plants stressed by midsummer. Drip irrigation solves this by delivering water slowly, directly to the root zone, at the same rate everywhere along the line. It also keeps foliage dry, which cuts down on fungal disease, and it uses up to 50% less water than a hose or overhead sprinkler, per EPA WaterSense estimates for microirrigation, because none of it evaporates off leaves or blows onto the path.
The kits below are all sized realistically for raised beds (not full in-ground yards), use pressure-compensating emitters so the last plant on the line gets the same water as the first, and connect to a standard outdoor spigot with no trenching or professional install required.
Why Drip Beats Hand-Watering and Sprinklers for Raised Beds
Pros
- Water goes straight to the root zone instead of evaporating off leaves or running off the sides of the bed
- Dry foliage means less powdery mildew, blight, and other splash-spread fungal disease
- Attach a $15–$25 mechanical or WiFi timer and watering happens automatically, even on vacation
- Most raised-bed kits install without tools in an afternoon — no trenching, no PVC gluing
Cons
- Emitters can clog with hard water minerals or debris if you skip the inline filter that ships with the kit
- Tubing needs to be walked and adjusted once plants fill in and root patterns change
- Layout takes some planning up front — rushing it means missed plants or uneven coverage
- Freeze-prone climates require draining and storing the kit before the first hard freeze
Best Drip Irrigation Kits for Raised Beds, Compared
| Kit | Best For | Coverage | Emitter Type | Tools Needed |
|---|---|---|---|---|
| Carpathen Raised Bed Drip Watering Kit | Best overall | Up to 3 raised beds | 20 spray + 10 pressure-compensating vortex emitters | None — push-fit |
| Rain Bird GARDENKIT | Best for one 4×8 bed | Single 4′ x 8′ bed | 70 built-in emitters, 0.8 GPH, pressure-compensating | None — hose-end |
| TJJFMM 230-Ft Drip Irrigation Kit | Best budget / most coverage | 200+ sq ft, multiple beds or greenhouse | 40 adjustable nozzles | None — push-fit |
1. Carpathen Raised Bed Drip Watering Kit — Best Overall
The Carpathen kit is built specifically for raised beds rather than adapted from a full-yard sprinkler system, which shows in the details: 50 feet of 5/16-inch mainline tubing plus 50 feet of 1/4-inch distribution tubing, 20 adjustable spray drip emitters, and 10 pressure-compensating vortex emitters. It’s sized to cover up to three standard raised beds from one spigot connection, or you can run it as a grid across a single large bed. The emitters and fittings feel closer to what a landscaper would install than what you’d expect at this price — push-fit connections, a clog-resistant filter, and pressure-compensating flow that keeps watering even across the whole run.
Pros
- Pressure-compensating emitters keep watering even across all three beds
- No tools needed — push-fit connectors throughout
- Mix of spray and vortex emitters covers both broad beds and individual containers
Cons
- Priced higher than basic kits, though the build quality reflects it
- Three-bed layouts take more up-front planning than a single-bed kit
Check Carpathen Raised Bed Drip Watering Kit on Amazon →
2. Rain Bird GARDENKIT — Best for a Single 4×8 Bed
Rain Bird’s professional-grade emitter tubing is the same technology used in commercial landscaping, scaled down into a kit sized for exactly one 4′ x 8′ raised bed. The tubing has 70 built-in emitters spaced every 6 inches, each delivering a pressure-compensating 0.8 gallons per hour so every plant along the row gets identical watering regardless of position. It connects straight to a garden hose spigot — no separate mainline or distribution tubing to plan out, which makes it the fastest kit here to actually get watering.
Pros
- Fastest setup of any kit here — connects directly to a hose bib
- Emitters built into the tubing every 6 inches, so there’s no separate emitter placement to plan
- Trusted commercial-grade brand with widely available replacement parts
Cons
- Sized for one bed — you’ll need a second kit or a splitter for multiple beds
- Barbed fittings are tight and hard to reposition once connected, so plan the layout before assembly
Check Rain Bird GARDENKIT Raised Bed Watering Kit on Amazon →
3. TJJFMM 230-Ft Drip Irrigation Kit — Best Budget / Most Coverage
If you’ve got more than a couple of raised beds, or you’re combining a raised-bed garden with containers, hanging baskets, and a small greenhouse, the TJJFMM kit’s 230 feet of tubing and 40 adjustable nozzles cover far more ground per dollar than the boutique kits above. The tubing is an upgraded 1/2-inch design that holds up under higher water pressure than typical 1/4-inch micro-tubing, and each nozzle adjusts individually for flow rate and spray pattern, which matters when you’re mixing thirsty tomatoes with drought-tolerant herbs on the same line.
Pros
- Lowest cost per square foot of coverage on this list
- 230 feet of tubing handles multiple beds, containers, and greenhouse benches from one kit
- Individually adjustable nozzles let you dial in flow per plant type
Cons
- Adjustable nozzles aren’t pressure-compensating, so long runs need occasional rebalancing
- More components means more up-front layout time than the single-bed kits
Check TJJFMM 230-Ft Drip Irrigation Kit on Amazon →
How to Set Up Drip Irrigation in a Weekend
- Day 1 — Plan and gather: sketch your bed layout, count plants, and confirm your kit’s tubing length covers the full run with a few feet of slack.
- Day 1 — Connect to the spigot: attach the pressure regulator and filter that ships with the kit before the mainline — skipping the filter is the #1 cause of clogged emitters.
- Day 1 — Lay the mainline: run the mainline tubing along the top edge or down the center of each bed, securing it with the included stakes.
- Day 2 — Place emitters: punch in emitters at each plant’s root zone, roughly 6–12 inches apart for closely spaced crops like lettuce, or one per plant for tomatoes and peppers.
- Day 2 — Test and adjust: run the system for 10 minutes, check for leaks at every fitting, and adjust flow on any emitter that’s over- or under-watering.
- Day 2 — Add a timer: a simple hose-end timer automates the whole system so beds get watered on schedule even when you’re not home. If you want zone-by-zone scheduling and weather-based adjustments across a bigger yard, see our guide to the best smart sprinkler controllers.
Still building out the bed itself? Check our raised garden bed plans and cut list or browse pre-made raised bed kits. And if leaves start curling after you dial in watering, our tomato leaf curling diagnostic covers under- and over-watering alongside five other causes. For more, browse all our garden guides.
FAQ
Read next: What to Plant in August — Zone 7